We won’t lie to you: removing stucco siding from your house’s walls isn’t going to be easy. This is a very durable cement that can last for as long as 50 years, so you can’t expect to finish the job in a couple of hours. However, there are ways to make the process a bit easier.
Here are our tips for quick stucco removal.
Stucco removal: begin with small sections
If you’re looking at the stucco siding and you’re thinking about getting out the sledgehammer, you should stop right now. It won’t do you any good in this case. As counterintuitive as it may seem, you need to think and start small.
Inspect the stucco siding and look for any loose pieces. Remove it using a chisel and hammer. Start with small steps and work your way from there.
Stucco removal: crack it off
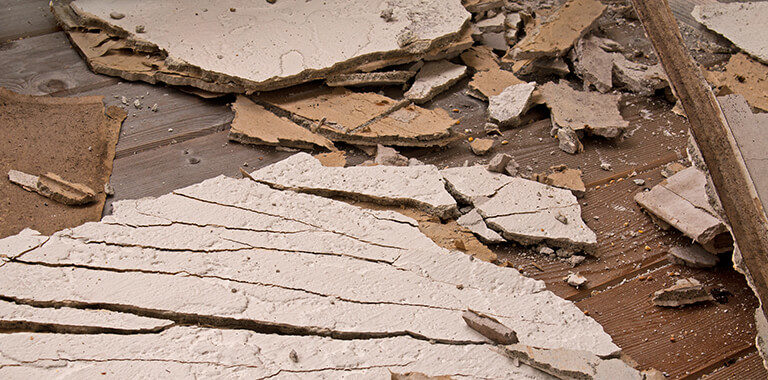
Once you manage to remove the loose layers, it’s time to apply harder blows to the cement to create friction and make it easier to come off. Whenever you see a crack in the stucco siding, use a shovel or crowbar to remove it. Make sure that no one is around you and that you don’t risk hurting someone or damaging anything. If a larger piece falls on the ground, it would be best to remove it to keep the area clear. That way, you can ensure that no one will accidentally trip and hurt themselves.
Stucco removal: you may have to cut off some sections
If the stucco siding is really stubborn, then a circular saw may come in handy. Be careful when using it, though. Start slowly by easing the saw into the stucco and proceed to cut square sections of cement.
Get help from a junk removal company
Depending on the scope of the project, it may take you a few hours or a few days to remove the stucco. Regardless, in the end, you will notice one thing: removing stucco makes a massive mess. Since you’ve worked so hard on the stucco removal, you probably don’t want to worry about cleaning the mess, too.
That’s what we’re here for. Give Kloos Hauling and Demolition a call and we’ll take care of the rest for you. For the best result, make a “Kloos call” before you start your project to arrange the cleanup to be completed as soon as the last bit of stucco crumbles to the ground.
How to easily complete popcorn ceiling removal
 Before starting a DIY popcorn ceiling removal, you should have the surface tested for asbestos. If the ceiling texture was applied before 1979 this step is crucial. If asbestos is found to be in the ceiling material, it must be removed by a professional.
Once you’ve got the all clear, get ready to remove that dated popcorn ceiling with these simple steps:
Protect the area below the popcorn ceiling.
Remove all furniture and belongings out of the room to make cleanup easier. Cover anything that cannot be removed with drop cloths to protect the surfaces. It is a wise idea to block off any connected rooms that are not being worked on to prevent the spread of dust. Don’t forget to protect yourself! Wear gloves, a face mask, and safety glasses while removing popcorn ceiling.
Moisten the popcorn ceiling surface.
A spray bottle of water will do the trick; try not to over saturate the surface because it could damage the drywall beneath it. Allow the moisture to soak in for 10 minutes before scraping the surface.
Scrape off the popcorn ceiling texture.
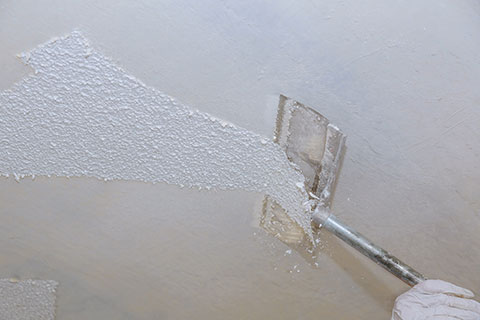
Use a ceiling scraper to carefully remove the surface layer of material. For areas that require more precision, like corners and areas around molding, use a putty knife or sharp utility tool.
Continue around the rest of the room or space where the popcorn ceiling is present, spraying and scraping small areas as you go. Once all the texture has been removed, wash the ceiling gently to remove any residual materials, and cleanup the rest of the room.
We can complete popcorn ceiling removal for you
Instead of going through all of the effort yourself, make a “Kloos call” and have Kloos Hauling & Demolition remove your popcorn ceiling. We’re able to work quick, effectively and we will leave no mess behind. We can come to your home seven days a week on your schedule to review the job. Afterwards, we’ll give you a free estimate to complete the work required. We can handle any aspect of your popcorn ceiling removal. From the setup, removal, to the post-project cleanup and waste removal for you! Call us – 204.955.1188 – today!

